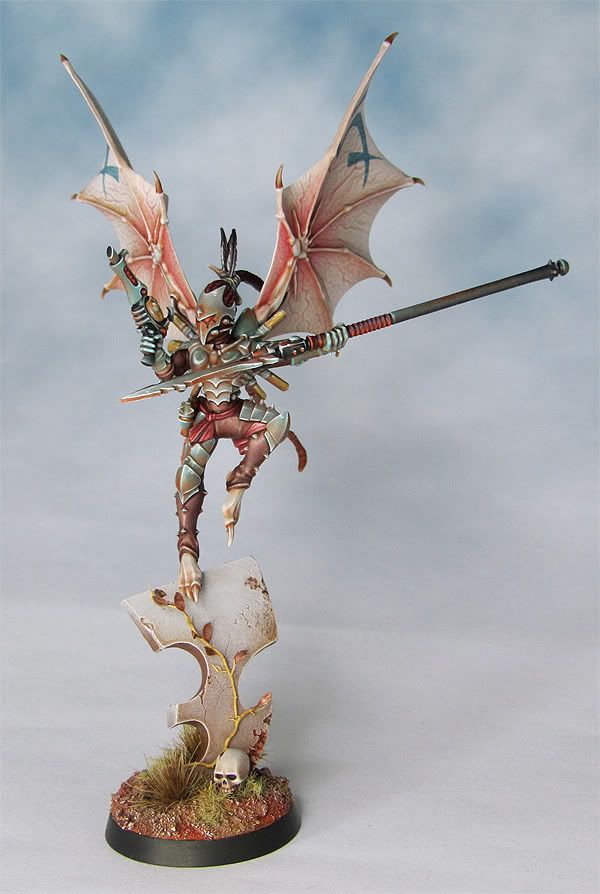
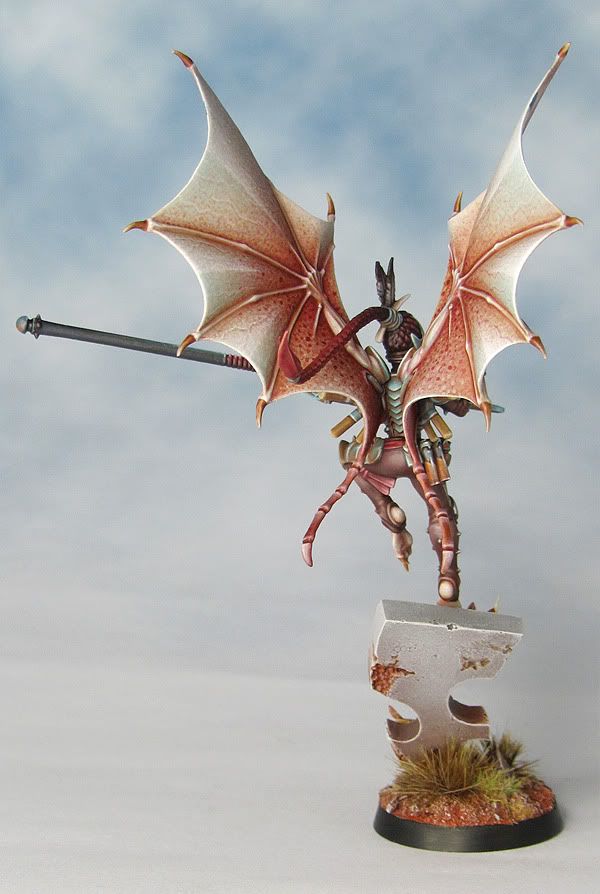
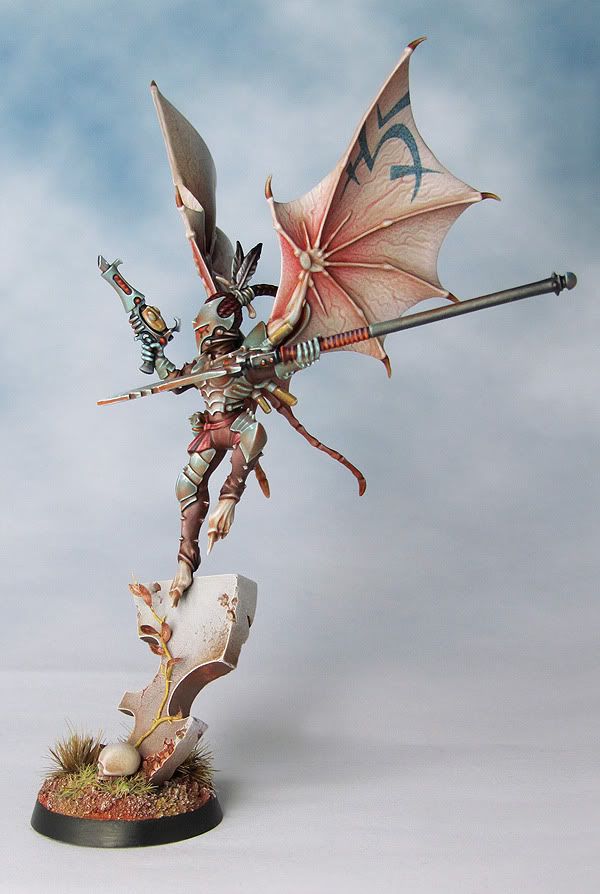
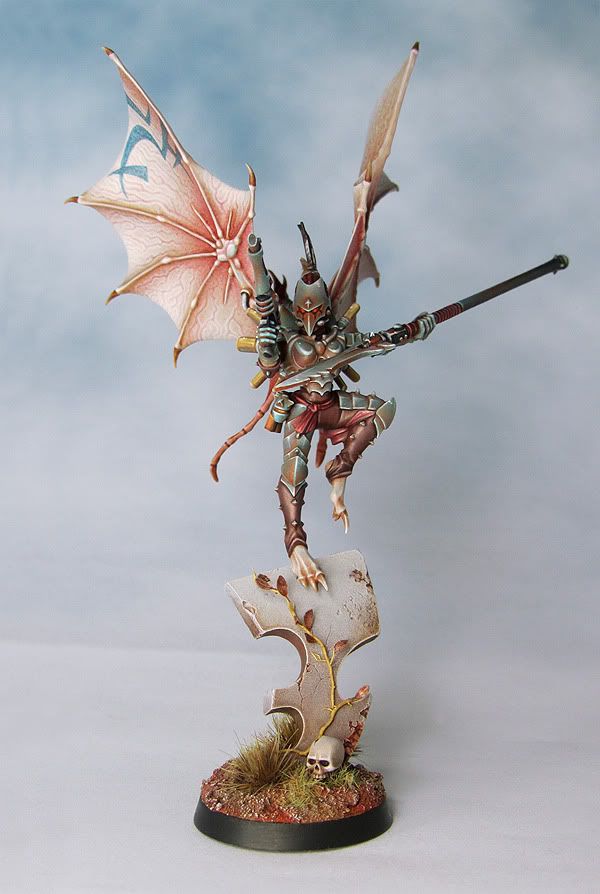
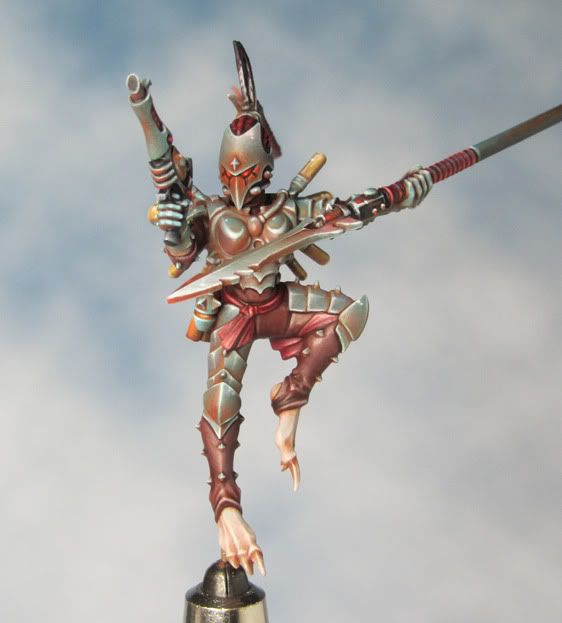
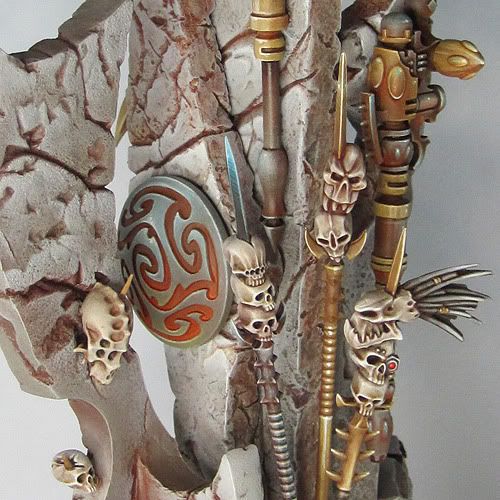
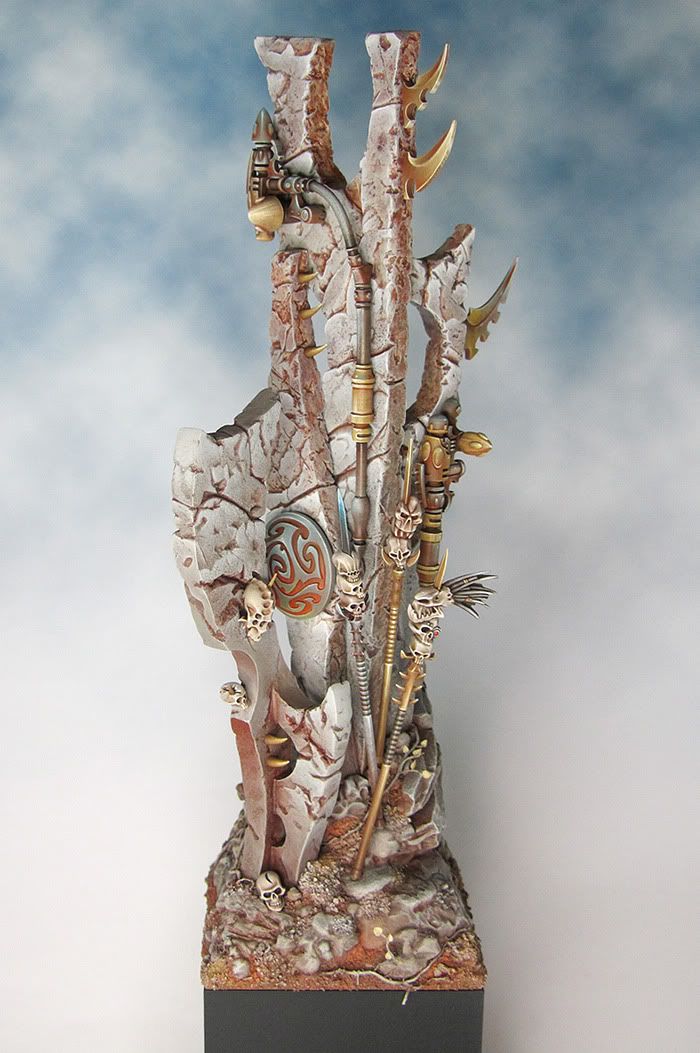
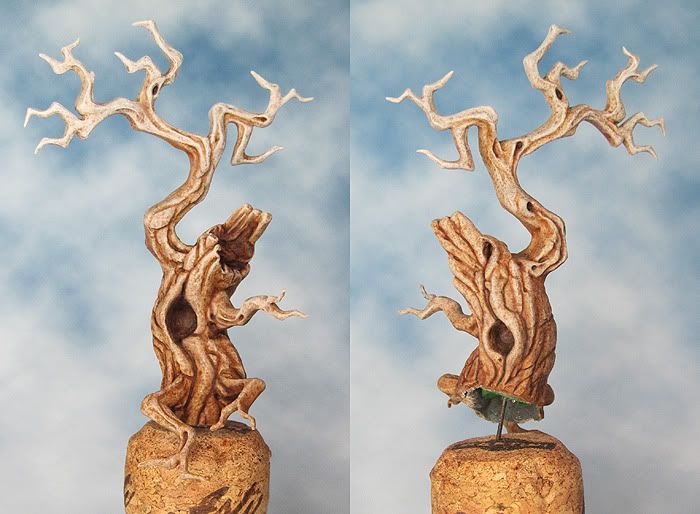
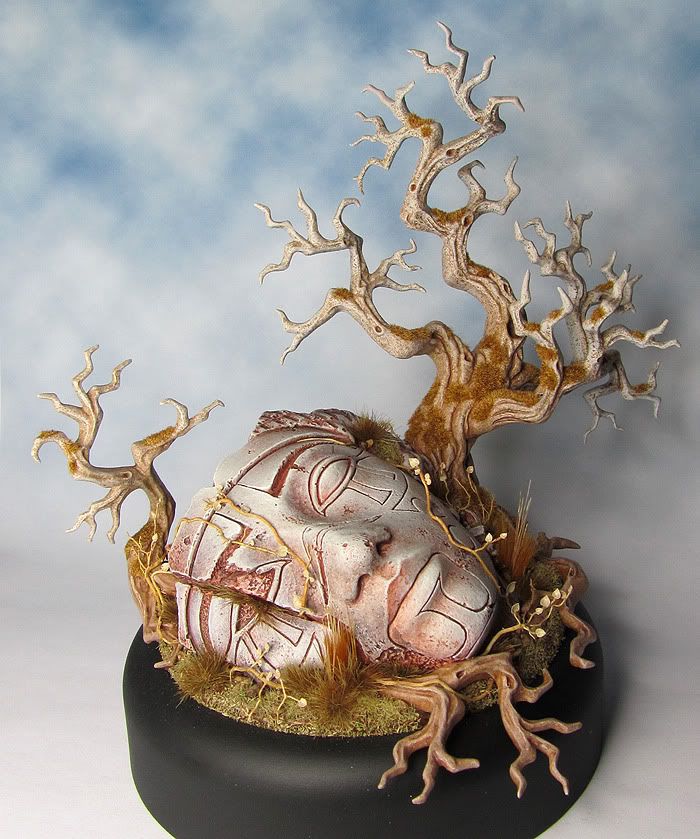
Tuesday 6 December 2011

Dark Eldar Scrouge - Finished!

It feels like I've been working on this mini forever! The base is temporary until such time as I fix her onto the diorama.


Tuesday 29 November 2011

Dark Eldar Diorama – Scourge Wings Step-by-step

I promised to post a step-by-step on the wings ages ago but I've only just painted them this last week. All the paints used were from Games Workshop.


1. Base colour: Dheneb StoneWash: Gryphonne Sepia + Ogryn Flesh mix
Things are rough & ready at this stage.


2. Wash: Baal Red
Beginning to refine the wash in the crevices between the fingers with several diluted washes. Let each wash dry thoroughly before reapplying. Paint the veins in with thinned down Baal red. Begin to build up a stippled effect in the shaded areas.


3. Wash: Baal Red & Gryphonne Sepia
Continue to build up the stippled effect with Baal Red. Wash the arm, hand and fingers with Gryphonne Sepia. One again it gives a more subtle effect if you apply several dilute washes in stages.


4. Wash: Baal Red & Gryphonne Sepia
Highlight: Dheneb Stone & Dheneb Stone + Skull White mix
Continue to build up the washes and stipple effects. Highlight around the edges of the veins with Dheneb Stone and Dheneb Stone + Skull White mix. Keep the lighter tones towards the edge of the wing.


5. Highlight: Dheneb Stone, Dheneb Stone + Skull White mix, Skull White
Highlight the fingers keeping the lightest tones to the tips & knuckles.
Build up the highlights on the arms. Washing with a Baal Red & Gryphonne Sepia mix.
Highlight the wings with several very thin layers of dilute Dheneb Stone + Skull White mix. Keep the lightest shade at the edges of the wings. This ‘glazing’ of light tones will also knock back and soften the look of the veins.


6. The outside of the wings are painted using the same sort of process as the front but using a slightly stronger colour mix and bigger dots in the stippling. These are applied using a cocktail stick.

UPDATE 02.01.2012
As an addition to this step-by-step I’d like to present an illustrated guide to stippling. It’s something I get asked about on a fairly regular basis so I guess there needs to be a bit of explaining done and it’s easier to show rather than just tell.


Spots before your eyes – a guide to stippling

Tuesday 15 November 2011

Dark Eldar Diorama – Scourge 2


I’ve put some time into painting the Dark Eldar Scrouge this week and made quite a bit of progress. So far so good but I’m itching to get the wings finished as they will really change the dynamic of the whole mini. 


I’m really enjoying experimenting with the brown/orange & blue/grey colour palette. I’ve always liked using warm/cool colour contrasts but using them to create a warm shadow/cool highlight effect is (for me) a totally new approach.  


This approach is inspired by the idea of reflecting the earth tones from below and the sky from above as seen in NMM. The trick has been in finding a way to do this that felt like a natural development of my own style rather than just copying the work of others. Things seemed to click when I started to work up from a brown base coat. I initially intended the overall look to have a far more neutral/greyish tone to it but as I worked the brown/blue contrast started to pop and that felt right for how I like to use colour.


Tuesday 1 November 2011

Know your Snow!

Once I’d decided to give my diorama a winter theme I searched online to see what information was available on materials and techniques. There seems to be a general consensus on the best materials to create a realistic snow effect and this was a huge help in narrowing down my options.  I decided to test out Micro balloons, Bicarbonate of Soda and Crushed Glass to see for myself how they compared.
All these materials come in a powder form and proper safety precautions need to be followed to avoid getting then in your eyes or inhaling then.
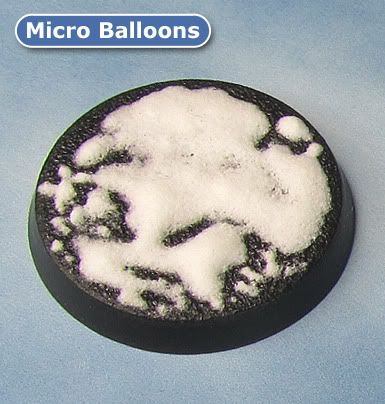
For the purpose of this test all three materials were mixed with Games Workshop’s water effects and applied to a plain black plastic base with a small paintbrush. All three of these initial tests were mixed to a relatively fluid paste and a drier mix would give a bulkier more textured finish.
My initial reaction is that all three are perfectly good solutions and give an excellent snow effect. They each have characteristics that give distinct finishes.


Micro Balloons form a lightweight white powder that could easily get very messy as the slightest breath can send it flying. Once mixed with the water effects I found this one the easiest of the three to apply as it flowed very easily. This also meant that it had a tendency to settle and smooth itself out. There was also quite a bit of shrinkage as it dried. It dried to a bright white, fine-grained, matt finish.


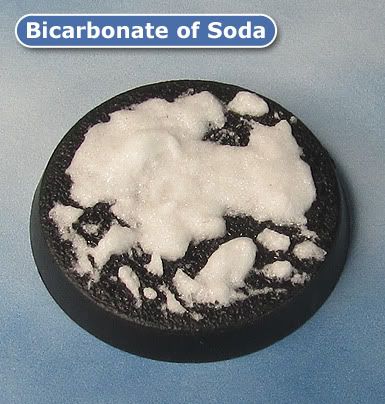
Bicarbonate of Soda is far the cheapest solution. Once mixed with the water effects this looked the least promising as it formed a translucent gloopy sludge! However appearances can deceive as it became much more opaque when it dried out and developed a slightly shiny/sparkly finish. 


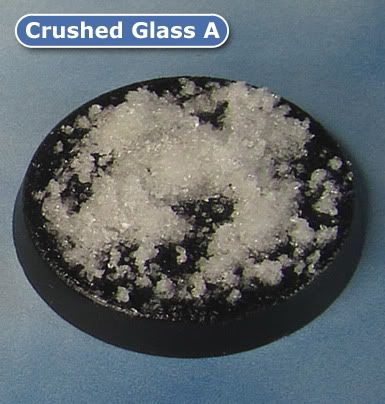
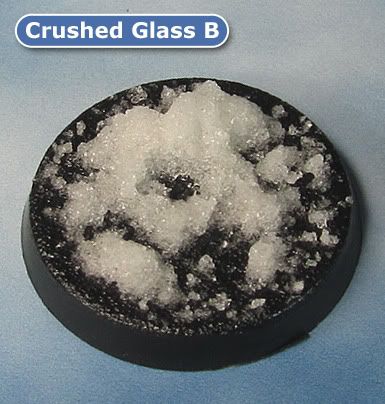
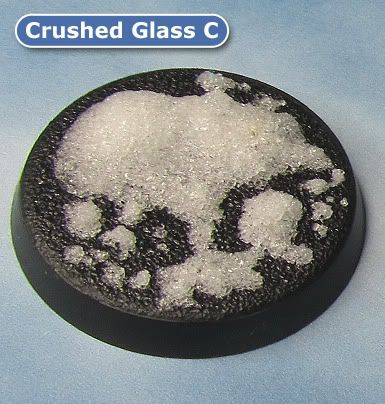
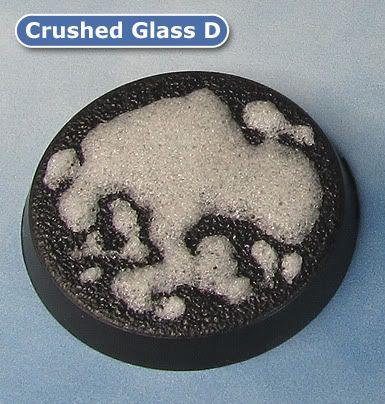
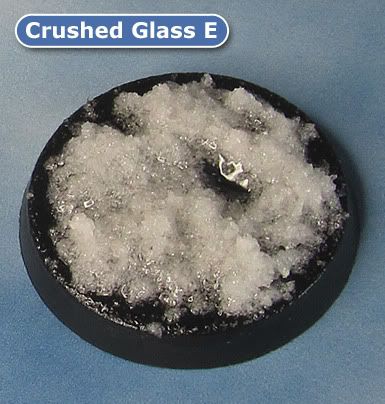
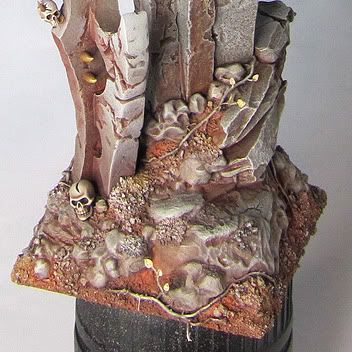
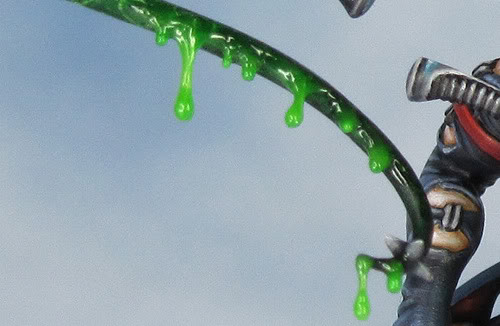
Crushed Glass had the largest particles and was trickiest of the three to apply. The crushed glass dried to a translucent sparkly finish and has a distinctly icy look to it.
Next it was decision time and that was fairly easy! The crushed glass had exactly the cold icy look to it that I wanted. I further experimented with different mixes of water effects and crushed glass to compare the finishes.  A is the driest and D the most fluid.


Finally I tried applying a little water effects to the base around the edges of the crushed glass before it had fully dried.


This isn’t intended to be a comprehensive ‘how to’ guide but rather an account of my own experiments as I explored several possible solutions. One thing that became swiftly apparent was that the permutations were many and I have in no way explored them all.

For more info on using crushed glass take a look at this tutorial from Secret Weapon Miniatures

Sunday 23 October 2011

Dark Eldar Diorama - Adding trophies

It's time for an update.


I've been working on some of the scenic details, painting up more Dark Eldar stuff and experimenting with snow effects (more on that later). This is still very much a work in progress, some of the elements are unfinished and their positioning may well change as things develop. 


The skulls and trophies are from the Dark Eldar Ravager and Talos kits. The large skull on the ground is from the Tomb Kings Warsphinx. I've had a lot of fun painting them. Doing one every now and again and spending an indecent amount of time on it!

Wednesday 19 October 2011

Dirty Talk!

I’ve been posting pictures of the Dark Eldar Diorama on the Cool Mini forums. One very useful piece of feedback  from Matt Cexwish (see his jaw droppingly fabulous minis HERE) encouraged me to have a go at using garden soil (yes plain old dirt!) to add some texture to the diorama. I had my doubts as to how this would turn out so I tried out the technique on a sample piece.


My suspicions could not have been more unfounded and I’m a total convert! I really love the texture you get through using soil and superglue. Here are a few pics of the effect on the diorama after painting.


The tutorial for using garden soil can be found HERE on Massive Voodoo.
I’ve also put in a lot of time adding more Dark Eldar detailing to the diorama this week. Here is a teaser of what’s to come.

Monday 3 October 2011

Dark Eldar Diorama – the NEW new base


I can’t think of another mini painting/modeling project where I’ve had to revisit my ideas and rework things quite so much! But I’m glad that I’ve persevered as the new base for my diorama is giving me the positive buzz for this project that’s been missing for a while. 
For sure there is a lot to do (the minis not the least!) but this time it feels like I’ve got the tone and composition right for what I’m trying to achieve. I’ve set up a production line for icicles and have started testing out some options for snow. There are more Dark Eldar bits and bobs to add but I will be doing this cautiously and as a part of the overall composition. I don’t want to go overboard with the hooks and chains!
So here is the Diorama base as it currently stands.  The elements are now all sculpted and assembled, bulk of the painting is done bar a few highlights and I’ve begun to build up some of the scenic details.

Wednesday 28 September 2011

Dark Eldar Diorama - Painting the monoliths step-by-step

I should probably title this posting ‘OOPS I did it again!’ 
I’d initially settled for a design with a smaller tree stump and spent a fair bit of time putting it all together. To be honest I pretty much hated it on sight as I was making all the same mistakes over again. I needed to have the courage of my convictions and push the Dark Eldar element to the max. The tree had to go … I needed more monoliths!
 As I’d decided that the diorama needed another monolith I was able to take some pics of the progress so here is a Step by Step to painting the Dark Eldar Monoliths/Spires.
A general mish mash of techniques is probably the best description. The effect is built up in layers using mostly dry brushing and washes.

 Base coat
Citadel Foundation Paints 
  • Mix Calthan Brown + Astronomican Grey. Any mid warm grey will do.
 Dry Brush
  • Mix Base coat + Vallejo Grey Primer.
An overall dry brushing with a lighter and slightly cooler version of the base colour. The aim is to bring out all the texture.
Wash
Citadel Colour Paints
  • Blazing Orange
  • Mix Blazing Orange + Scorched Brown
  • Scorched Brown
I like to build up my washes with lots of layers so I dilute the colour right down and apply it in relatively thin coats. As I build up the intensity of colour I progressively darken the mix. I find this give me a fair amount of control on the overall finish.
Dry Brush
  • Mix Base coat + Vallejo Grey Primer
A selective dry brushing to begin to emphasize the raised areas.
Highlight
  • Vallejo Grey Primer
I used grey primer because it was to hand & I’m lazy that way! Any light cool grey would do the job. The highlights are building up with thin applications of diluted colour until the desired intensity is reached. I also went in with some ink and refined the shadows/recesses.

Tuesday 20 September 2011

Dark Eldar Diorama – the new base

The last week has seen quite a lot of progress on the new base for my Dark Elf diorama. It’s a good feeling to be building something again after the deconstruction of the old base. Having reassembled the monoliths into a single structure I then chose a 60mm resin cube to use as a plinth.  I’ve use bits from the Games Workshop plastic woods kit (left over from earlier projects) to make up an old stump.
The various parts were then assembled on/into a rocky hillock made for the most part from green stuff.
I’ve experimented with the tree stumps in an effort to get more texture onto the plastic kits. Once I had undercoated the stumps I applied a layer of crackle paint to them and then worked over this with a mix of dry brushing and washes. The finished effect isn’t bad but in the future I need to be bolder with it and really push the texture to the fore. For the moment the tree stumps are OK but they will need more work with texturing, painting and the application of leaves and moss. I’ll do this as a part of painting the overall base.
I’m almost there with the basic assembly on the new base – just a little more work with the green stuff to hide the joins and it’s done. I’ve used an assortment of stones as texture stamps to get some texture into it and a few pieces of basing slate to give some harder edges here and there.
I had intended to incorporate some element of ancient Eldar ruins on the base. At the moment it looks to me like that might be a case of trying to include too much but I’ll see how things develop. There is a lot of painting and scenic detailing to add so I need to keep a certain amount of flexibility about the detail. One major development is my decision to give the base an overall bleak wintery theme. It looks like I’ll be seeing more than my share of snow and ice before Christmas!

Wednesday 14 September 2011

A blast from the past - Stone Colossus


I'll be posting an update on the progress (there is some!) on my Dark Elf Diorama at the weekend. In the meantime...
I've had this guy half finished on my desk for ages. Earlier this Summer I finally got around to getting him completed & based up. 
The colossus was a lot of fun to paint and gave me the chance to experiment with combining some new paint effects & techniques. I got the idea of painting coloured bands in the stone from a couple real examples - both are statues of Ramses II. One is from Tanis and the other is the famous 'Young Memnon' in the British Museum.
The paints were all from Games Workshop. The base colour is Iyanden Darksun from the foundation paint range. I think (it was a while ago) that I may have mixed in a little Snakebite Leather to make the colour a bit less yellow. To highlight I just mixed in Skull White and dry brushed (lots). For the shading and bands of darker colour I used Scorched Brown and Bestial Brown in lots of layered washes. There are quite a lot of layered washes and dry brushing to bring out the texture. It’s then back to the highlight colour to pick out the detail and edges gradually adding more white to the mix. The metallic areas are Dwarf Bronze shaded with Scorched Brown. The verdigris is a mix of Hawk Turquoise and white applied as a wash and built up in layers.

Wednesday 31 August 2011

Dark Elf Diorama – rethinking the design 2


The new diorama base will have the same elements as the old one:
  • A resin plinth
  • Dark Eldar Monoliths
  • Ancient Eldar ruins
  • Dark Eldar totems
  • A layer of trees/vines/plants growing over everything
The proportion/balance of the element will be very different. I want the new composition to have a vertical orientation. It will also have a definite front, back and sides as opposed to the old one which was low and circular. For these reasons I’m using a 60mm resin cube to sit the diorama onto.
My first task was to sort out the monoliths.  I’d sculpted these out of Super Scullpey Firm so fixing the warped monolith was a simple matter. I heated it up with a hair dryer (not my own, alas I have no need) and allowed it to cool while held flat under a weight. To prevent the problem happening all over again I needed to find something to fix onto the big monolith as a reinforcement/brace.
It took me a while to realise that the best solution was to use the two smaller monoliths to reinforce the large one. I’ve now pined and glued the three monoliths together into a single structure and I’m really pleased with the result! This new single monolith will be the main element of the diorama base and will provide support for a couple of the  ‘flying’ models.
The new Dark Eldar Monolith 

Tuesday 30 August 2011

Dark Elf Diorama – rethinking the design!

For some time I’ve had a nagging feeling that something isn’t quite right with the base for my Dark Elf diorama. Coming back from my summer holiday and looking at it with fresh eyes I became certain that I needed to have a rethink.
This isn’t all that unusual for me to be honest as I employ a special technique called ‘making it up as I go along’ this means that although I start out with a plan I often change things as I develop my ideas. But this time I decided on a total reworking of the base.
There are several things that I wanted to address.
  • The overall size of the base/diorama is too big. I want a much smaller/tighter composition.
  • The tone of the piece is wrong. I’m pleased with all the individual elements but at the moment the diorama has too much of a woodland/fantasy feel to it. I want something that has more of a sinister Dark Eldar/SciFi feel
  • The largest of the monolith I’d sculpted has started to warp and developed a silly looking bend.
I’ve put a lot of work into the base and wanted to salvage as much as possible but at the same time it’s no use persevering with a design if it isn’t working for you. It was time for a little brute force and a lot of nerve!
I removed the monoliths from the base. That sounds nice and easy doesn’t it? The process involved a lot of pulling, wiggling (the model not me) and even a bit of snapping! After all that and some fairly harsh language the monoliths were liberated from the base with minimal damage to either. Next I removed all the Dark Elf skulls and totems, which was a fairly easy matter as I have only fixed these lightweight pieces into place with PVA glue. 
The Old base is now stripped of all the dark Eldar elements and I have to say I prefer it that way. With just a little repair work I think I will have a rather nice forest/ruins themed base for a fantasy subject but that will be a job for another day.

It’s time to start work on the new Dark Elf Diorama base ... more about that very soon.

Monday 8 August 2011

Hellion - work in progress.


Oh well, the best laid plans and all that! July turned out to be a bad month for painting as there have been a lot more important things going on in my life that just had to come first. That's the way it goes sometimes. Having said that I've always been the sort of painter who like to put his work aside from time to time to consider the next move. It’s a luxury I particularly enjoy because my professional output is completely deadline driven.
It is however time for another post so here is a little something to keep the ball rolling. It's the second Hellion for the Dark Eldar diorama...or at least the start of the second hellion.


Very much looking forward to going off on my summer holls and coming back rested and ready to paint!

Wednesday 27 July 2011

A step-by-step guide to adding slime and drips to a miniature.


The method described bellow is the one I’ve used to add the drips of poison to my Hellion’s whip. There are many variations on the method and materials that can be used so this is very much my own take on things.

Step 1.
In order to get a nice long drip with a curve to it and a blob at the end their needs to be some kind of support/armature onto which the drip can be built. In theory you can build up the effect without one but it would take a lot more time and the final result might be quite fragile.
For my drips I used a hair to provide that support. There are other materials that could be used, for example very fine fishing line, but a hair is easy to get hold of and it’s a renewable resource. Tragically it just so happens that I now have a few white hairs in my beard so these were the obvious choice.
So first things first...ouch!

Step 2.
Glue the hairs in place. This is the really fiddly bit. On my Hellion I used clear glue and for the example here I’ve used super glue. On both the hairs had a tendency to shift position as the surface tension of the glue pulled them out of place. Use as little glue as possible and apply it with something fine like a pin. Let the glue get completely dry before you move onto the next stage.

Step 3.
Now you can start to build up the drips. To get things started off I’ve used clear glue. Squeeze a little out onto a piece of scrap paper and leave it to begin drying. Once it has started to thicken up it will be easier to get a blob to form on the hair. What you are aiming for if a coating of glue on the shaft of the hair and a little blob about to drip off the end. Apply the glue with a pin and once again leave it to dry. If possible support the model in a position that helps the blob of glue to dry on the very end of the hair.... get gravity to do the work for you. 

Step 4.
This bit takes time, as the drip needs to be built up with multiple coatings. It is best to let each coating dry thoroughly before applying the next. They tend to shrink a little as they dry and if you rush thing you will have less control over the final result. For my drips I’ve used Games Workshop’s water effects tinted with a tiny dot of green paint. I’ve applied this with a fine brush giving each drip an even coat and then applying it more thickly where I want volume. As with the glue it is easier to get the thicker areas to build it if you let the water affects begin to set just a bit before you apply it.

Step 5.
Keep on building up the drips with successive coatings until you are happy with the result. As well as forming a blob on the end build up some thicker areas and a few small blobs and drips at the base.

If you don’t need your drips to be clear or translucent you could build them up with successive coats of paint alternatively you could use PVA woodworking glue. This is what I used to create the slime on my Nurgle Predator. I’ve also experimented with using Araldite Rapid epoxy glue but this needs to be done with extra care, as it’s hard to control and very permanent once set.

UPDATE: a few years have passed since I first used this technique, and I’ve added some refinements that have enhanced the finished effect. You can see them HERE
 
Useful Links: 
The guys over at massive voodoo are a huge source of inspiration and ideas. The following articles were particularly useful to me with regards to finding out how to create drips and slime.